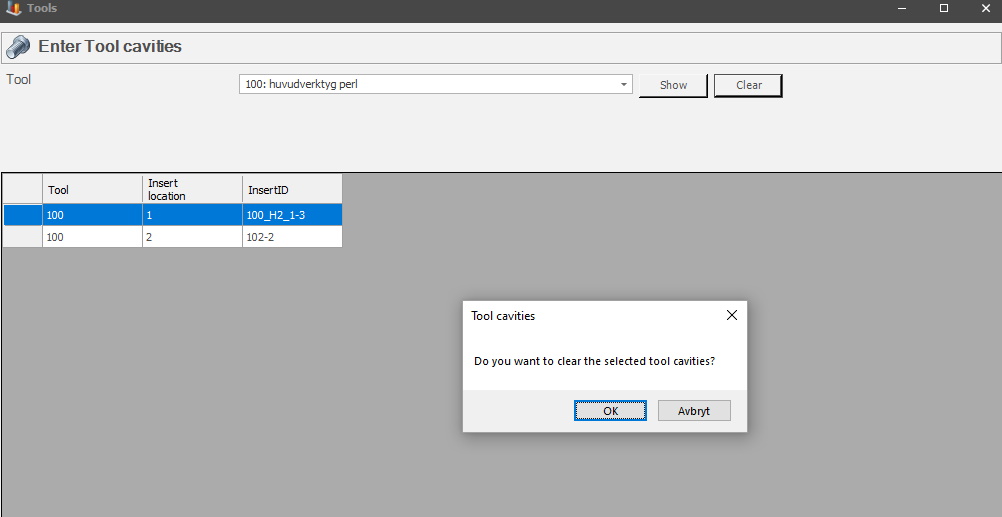
Via "Client" -> "Administration" -> "System settings" -> "Tools" -> "Tool Cavities" it is possible to find the form seen below. In the drop-down menu you can select a tool, then click on "Show", or "Clear".
With "Show" the form will give information about the tool, and its corresponding cavities. With "Clear" it will be possible to remove the cavities from the selected tool.
To create new cavities/inserts go to "Client" -> "Administration" -> "System settings" -> "Tools". In that form select a tool, then use the button called "Create tool inserts".
Tool ID
Here you can see the ID for the
selected tool in the grid.
Cavity location
This is the place on the tool where you will find the specific cavity currently in
use.
Cavity ID
ID number for the specific cavity tool. Only the cavities that are not connected to
a main tool will be visible here.