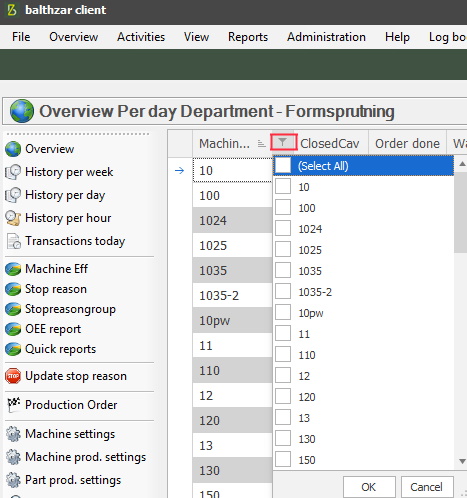
In the Overview in the Client, it is possible to use a filter to search for specific values. See the red box in the picture below. If the filter icon is not visible in the Overview, then move the mouse marker over it, then it should be visible. In the list seen below, check the boxes to save data, then confirm with "OK", or abort with "Cancel".
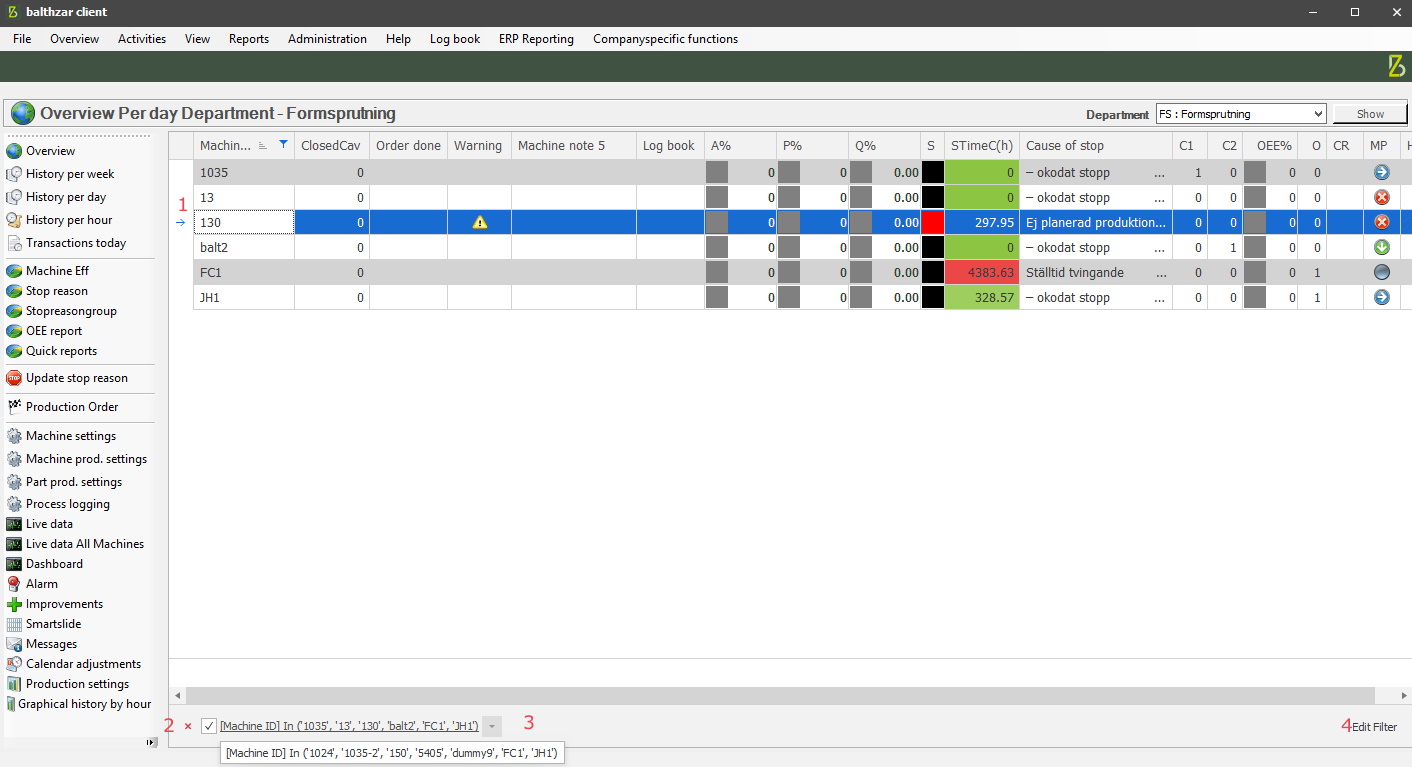
In our example below a filter is created to show specific machines, see 1. At the bottom of the Overview, there is a red X, if this is clicked the filter will be removed, see 2. If more than one filter is saved/created then a drop-down list of all filters is available here, see 3. If you wish to further customize the filter, use the filter editor, see 4.
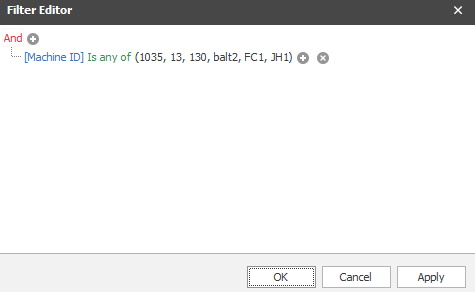
Below there is an example of the filter editor. Use the plus sign to add more filters, confirm the changes with "Apply", abort the changes with "Cancel", and save the changes with "OK".
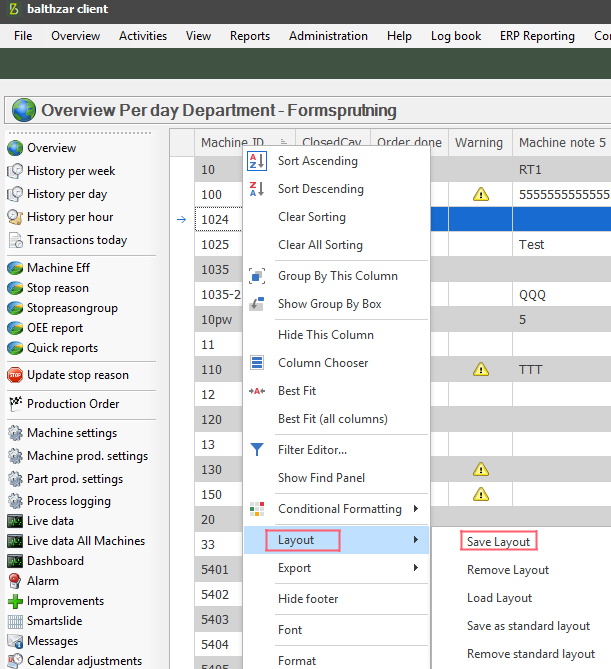
If you wish to save filters as a new layout, then right-click on a column header in the Overview in the Client. In the menu that appears go down to "Layout" -> "Save Layout". If you have the, correct access rights, filters can be saved as Standard layouts. To change a user's access rights go to "Client" -> "Administration" -> "System settings" -> "Basic data" -> "Users".