This is a step by step guide how to get push notices from machines in the Client / BZX21. This can be used to send information about a machines status. For example send one sms to a mobile phone if a machine has stopped. However, be aware that this process only works for one machine at the time. If more machines should have this, then this process has to be redone for each new machine.
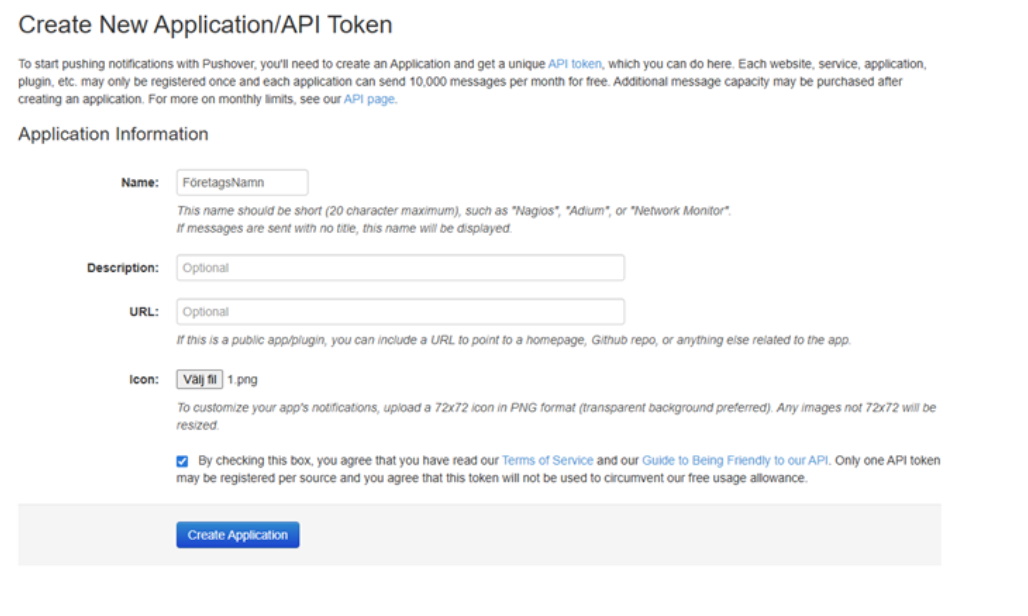
The first step is to either via the mobile, or the homepage found via https://pushover.net/ to create one "Application/API Token". See pictures below of the form. The most common option here is to use either the company name, or Balthzar in the column for name because that is what will be visible in the phone. Once the process is done, and you have the key, contact Delacroys support about this since the support has to activate it for you. It is also possible to cuztomize when push notices should be sent via "Your Quiet Hours".
Be aware that this is not a free service. After the 30 day trial time, it will cost $4.99 a one time fee for each user.
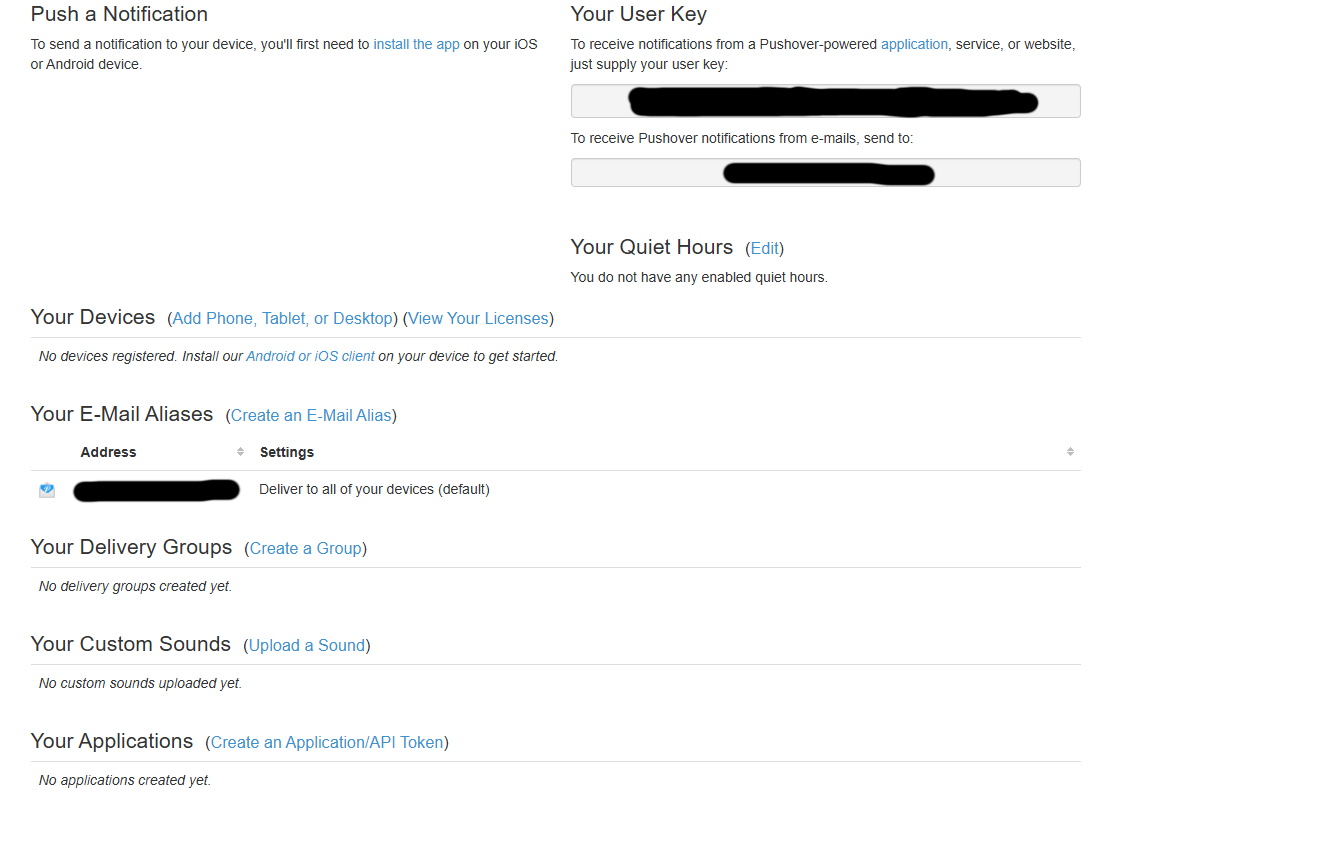
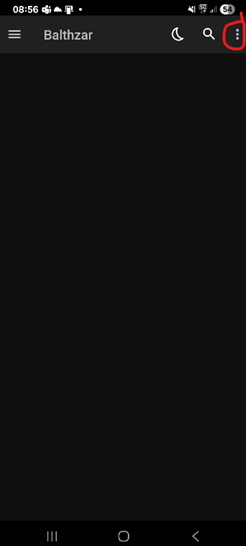
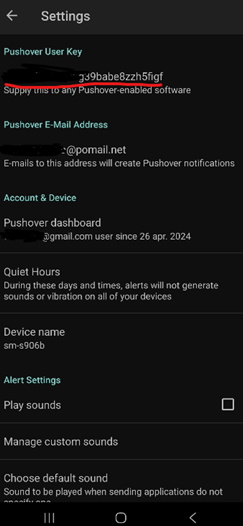
Once you have downloaded the app, and created an account, as well as added the information needed in the forms seen above. Then go to the settings, as seen below, and use the three dots in the top of the app interface. See the picture below. This will create the API key. The next step after that, is to go to the admin section of the Client.
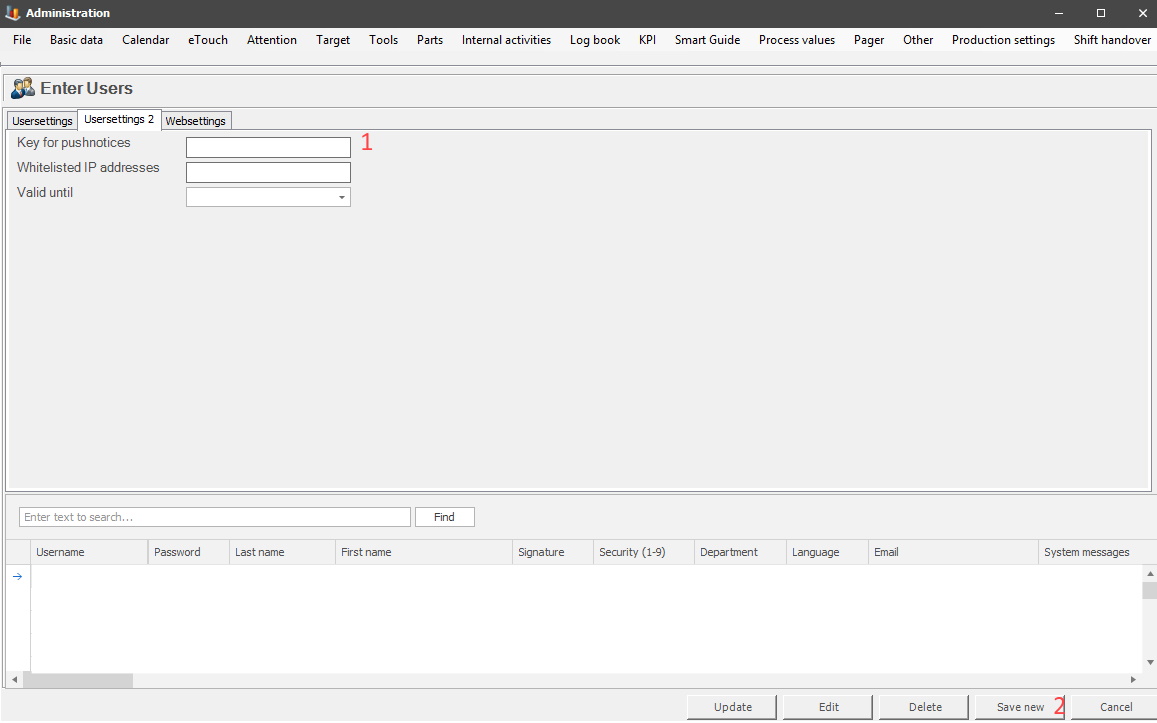
Once an API key is in the email then use that code in the admin form seen below. This is located via "Client" -> "Administration" -> "System settings" -> "Basic data" -> "Users" -> "Users 2" with 1 enter the key, then save this with the admin buttons, see 2. .
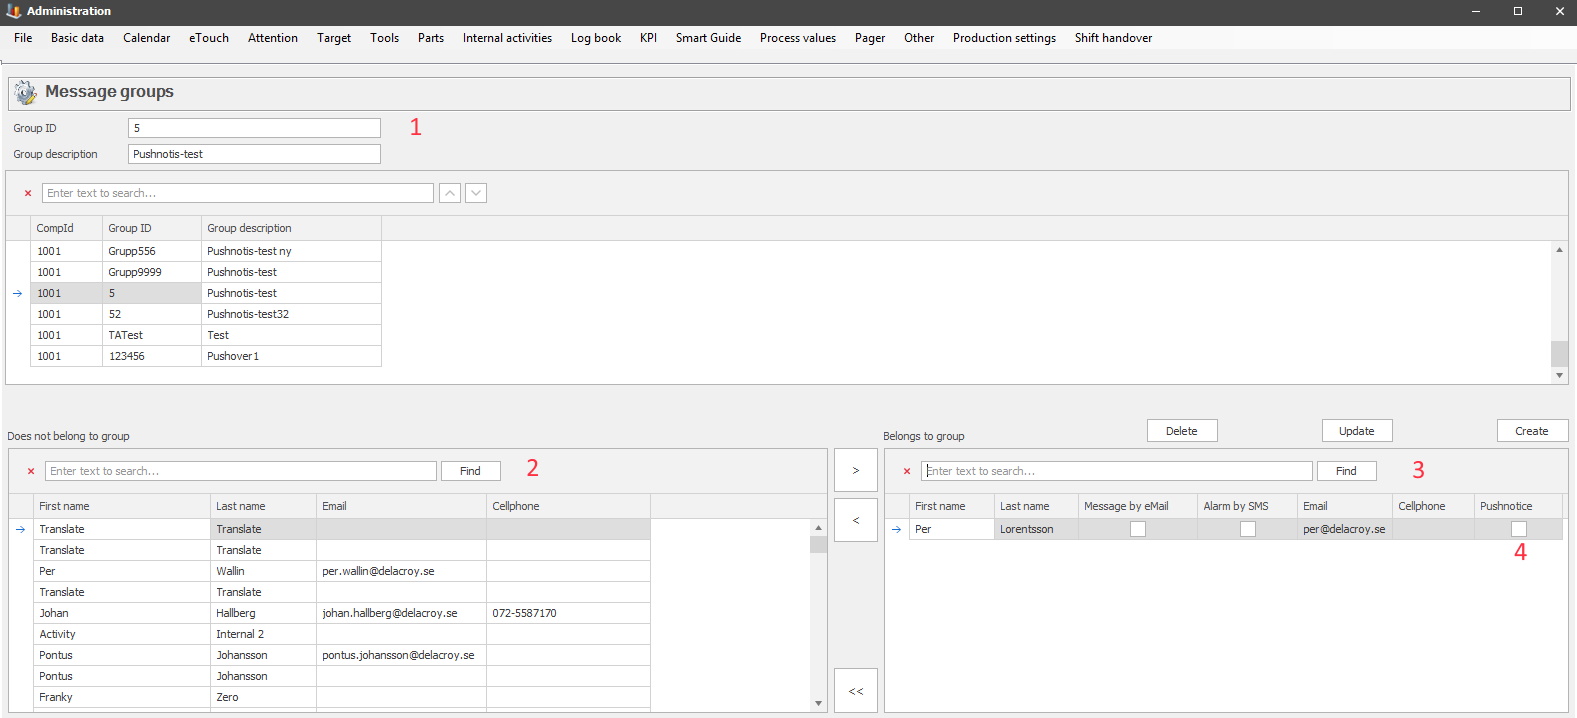
The second thing to do is to go to the admin section for Message groups which is found via "Client" -> "Administration" -> "System settings" -> "Basic data" -> "Message groups" in that form create a group that will get the push notices, see 1 in the picture below. Once a group is created then add users to that group from the table on the left, see 2. Move the users over to the table on the right, see 3, that means they will be in the selected group. Also do not forget to activate the checkbox for push notices on each member who needs this, see 4.
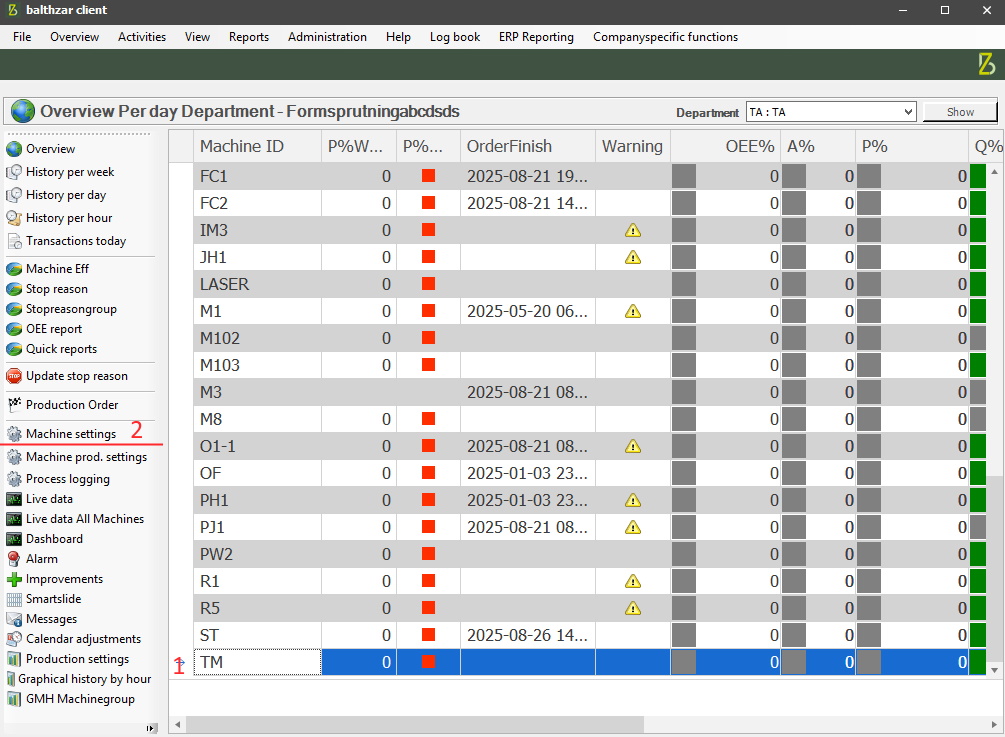
Once a group is created, and users have been added it is time to select the machine for the push notices. This is done in the Overview of the Client, see 1 in the picture below. Once a machine is selected, some settings for that machine has to be changed, this is done in the menu for "Client" -> "Left side menu" -> "Machine settings" see 2.
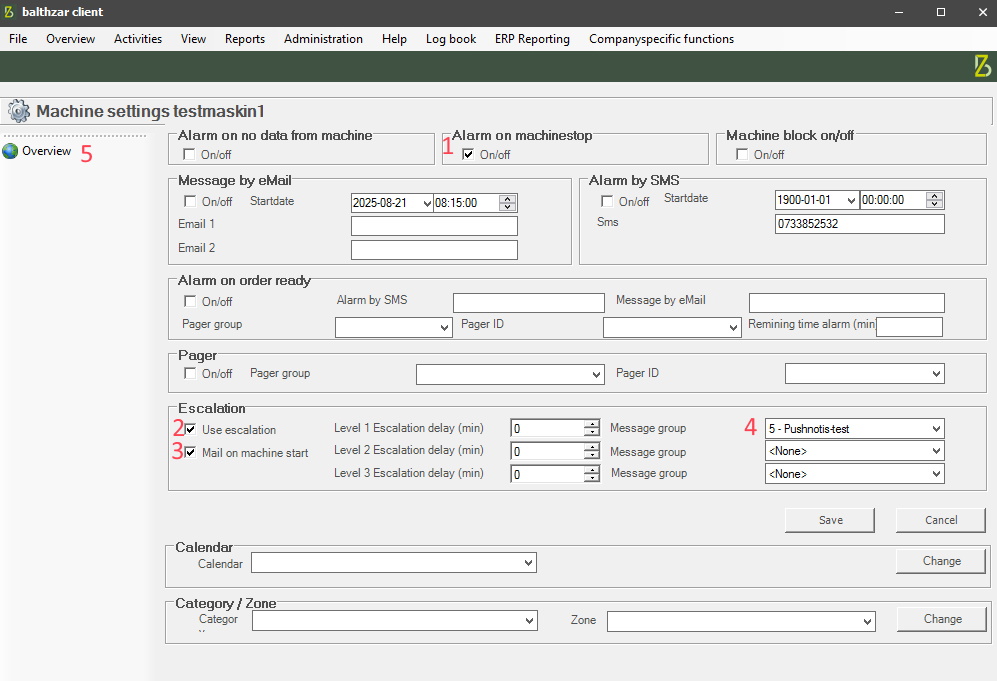
In the menu for "Machine settings" the following settings has to change. Activate the checkbox, see1, for "Alarm on machine stop" which is what is used in this scenario. In the section for "Escalation" activate both checkboxes, see 2, and 3. Select the message group created for this scenario in the drop-down menu for "Message group", see 4. Once all of this is done use the shortcut for "Overview" to return to the machine selection in the Client, see 5.
Once the above steps are complated, the members of the selected message group will get push notices on their mobile phones if the selected machine stops.